 Microsoft office . Feb 5th 2025 . 7 Min read
Steps To Enable Email Forwarding in Outlook
managing emails efficiently is crucial for staying on top of important communications. One valuable feature that can enhance your email management is Enable Email Forwarding in Outlook forwarding in Outlook. Whether you’re transitioning to a new email address, want to consolidate multiple email accounts, or simply need a way to ensure you don’t miss critical messages, email forwarding can be a game-changer. This blog will walk you through the easy steps to set up email forwarding in Outlook, helping you streamline your email workflow and stay organized. Let’s dive into the straightforward process of enabling this handy feature!
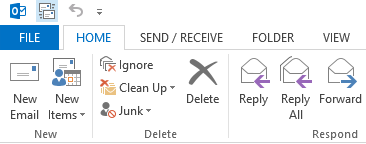
Step 1: Open the File Menu
- Click File at the top left of your screen.
Step 2: Open the Rules and Alerts window
- Click on the Manage Rules & Alerts option at the bottom of the Account Information menu.

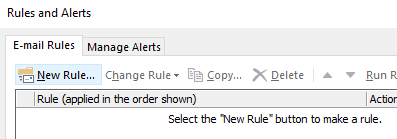
Step 3: Create a New Rule
- Click the New Rule button.
Step 4: Apply Rule to all Messages
- Select ‘Apply rule on messages I receive‘ then click Next.
- Do not select any other option on the next screen and click Next.
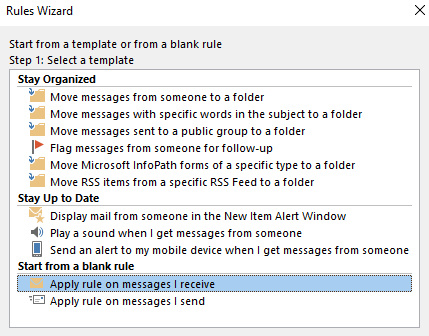
Note: You must click Yes when asked if you wish the rule to apply to every message.

Step 5: Designate the recipient of your Email
- Select ‘redirect it to people or public groups.
- You will receive a copy of the message and will forward the message to other users.
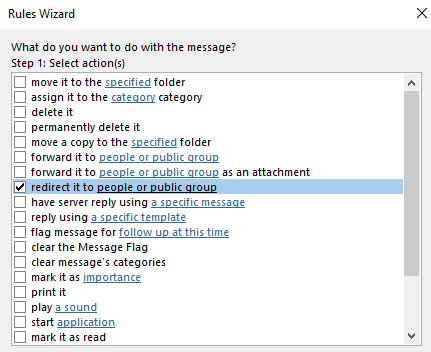
Note: Click the ‘people or public group‘ link and select the user you wish to forward to from the address list in Step 2, and click Next.

Please click Next, if you do not wish to add any exceptions to the rule (all mail will be forwarded).
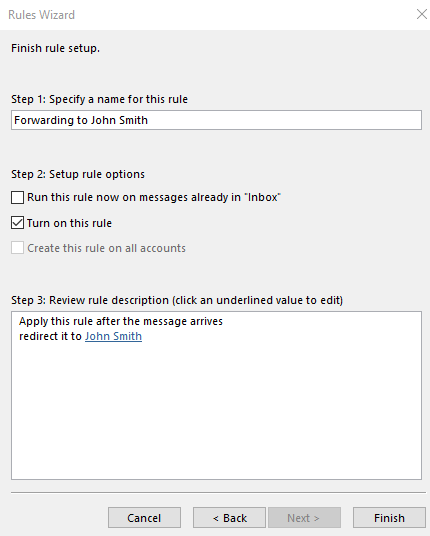
Step 6: Enable the forwarding Rule
- You can enable a rule by giving it a name, clicking Finish, and then clicking OK.
Step 7: Turning off forwarding
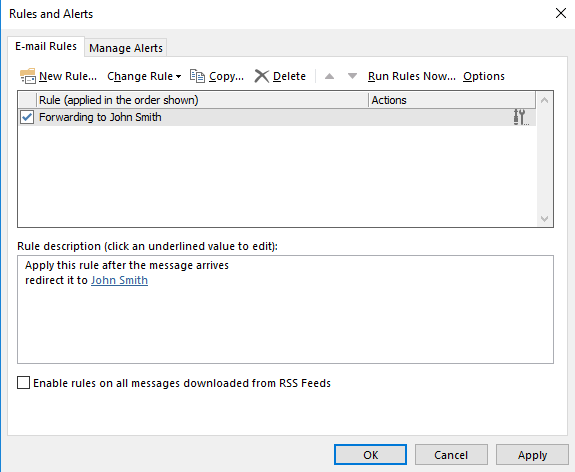
- Click the Manage Rules and Alerts button from the File menu.
- Click OK after unticking the box next to the forwarding rule in the list of rules.
Also Read: Comprehensive Guide to Troubleshooting Email Issues and Enhancing Email Security

